

If your Gigabyte X870 AORUS Stealth ICE suddenly stopped powering on — no fans, no debug codes, no RGB, nothing — don't give up on it just yet.
A few days ago I was literally minutes away from returning a brand-new motherboard because I was convinced it had failed during a Windows 11 installation. After several hours of troubleshooting, one built-in feature brought it back to life without starting an RMA: Q-Flash Plus. This is the complete story, everything I tried, and the exact steps that recovered the board — so you can save the time, money, and frustration I went through.
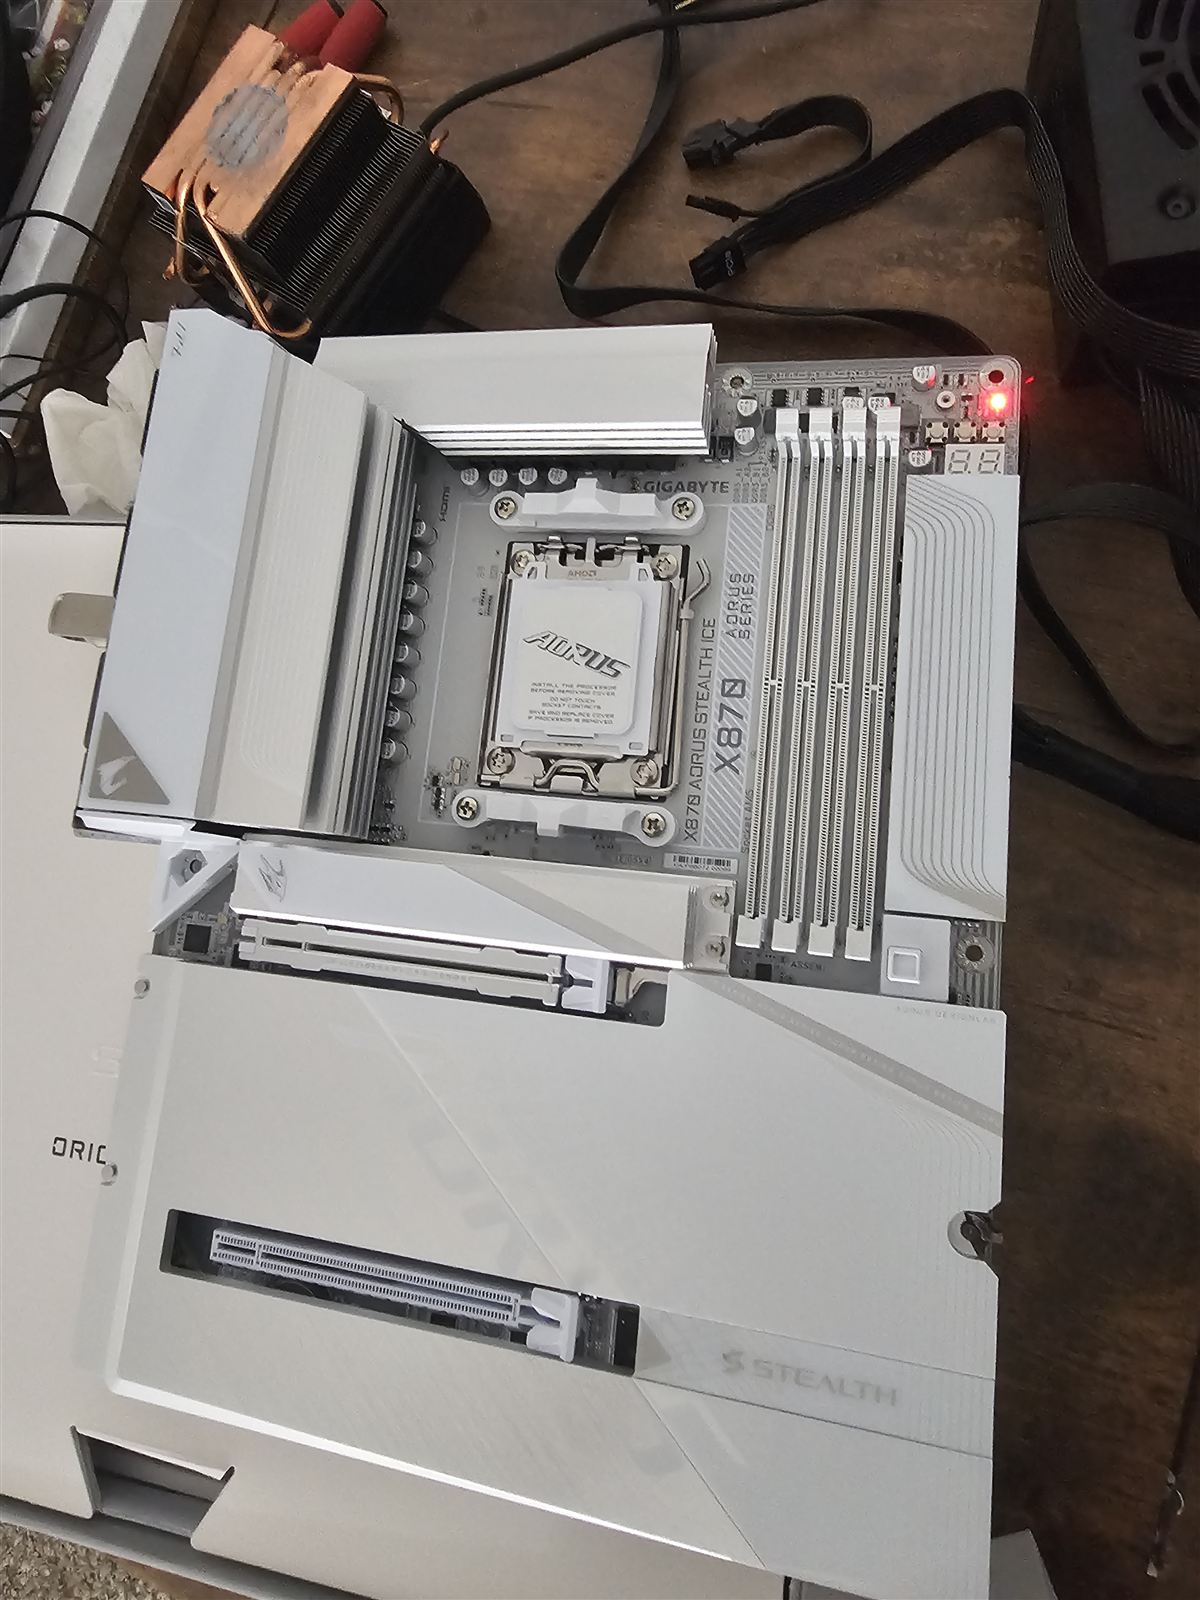
The System: A Brand-New AM5 Build
Here is the exact hardware I was using when the issue occurred. Every component was brand new:
The Problem: The Board Died in the Middle of a Windows 11 Install
The first boot went perfectly. I entered the BIOS without any issues, and the motherboard detected the processor, the memory, and the SSD correctly. So I started installing Windows 11 Pro.
The installation was almost complete when I stepped away from the computer for a couple of minutes. When I came back, the PC was completely powered off.
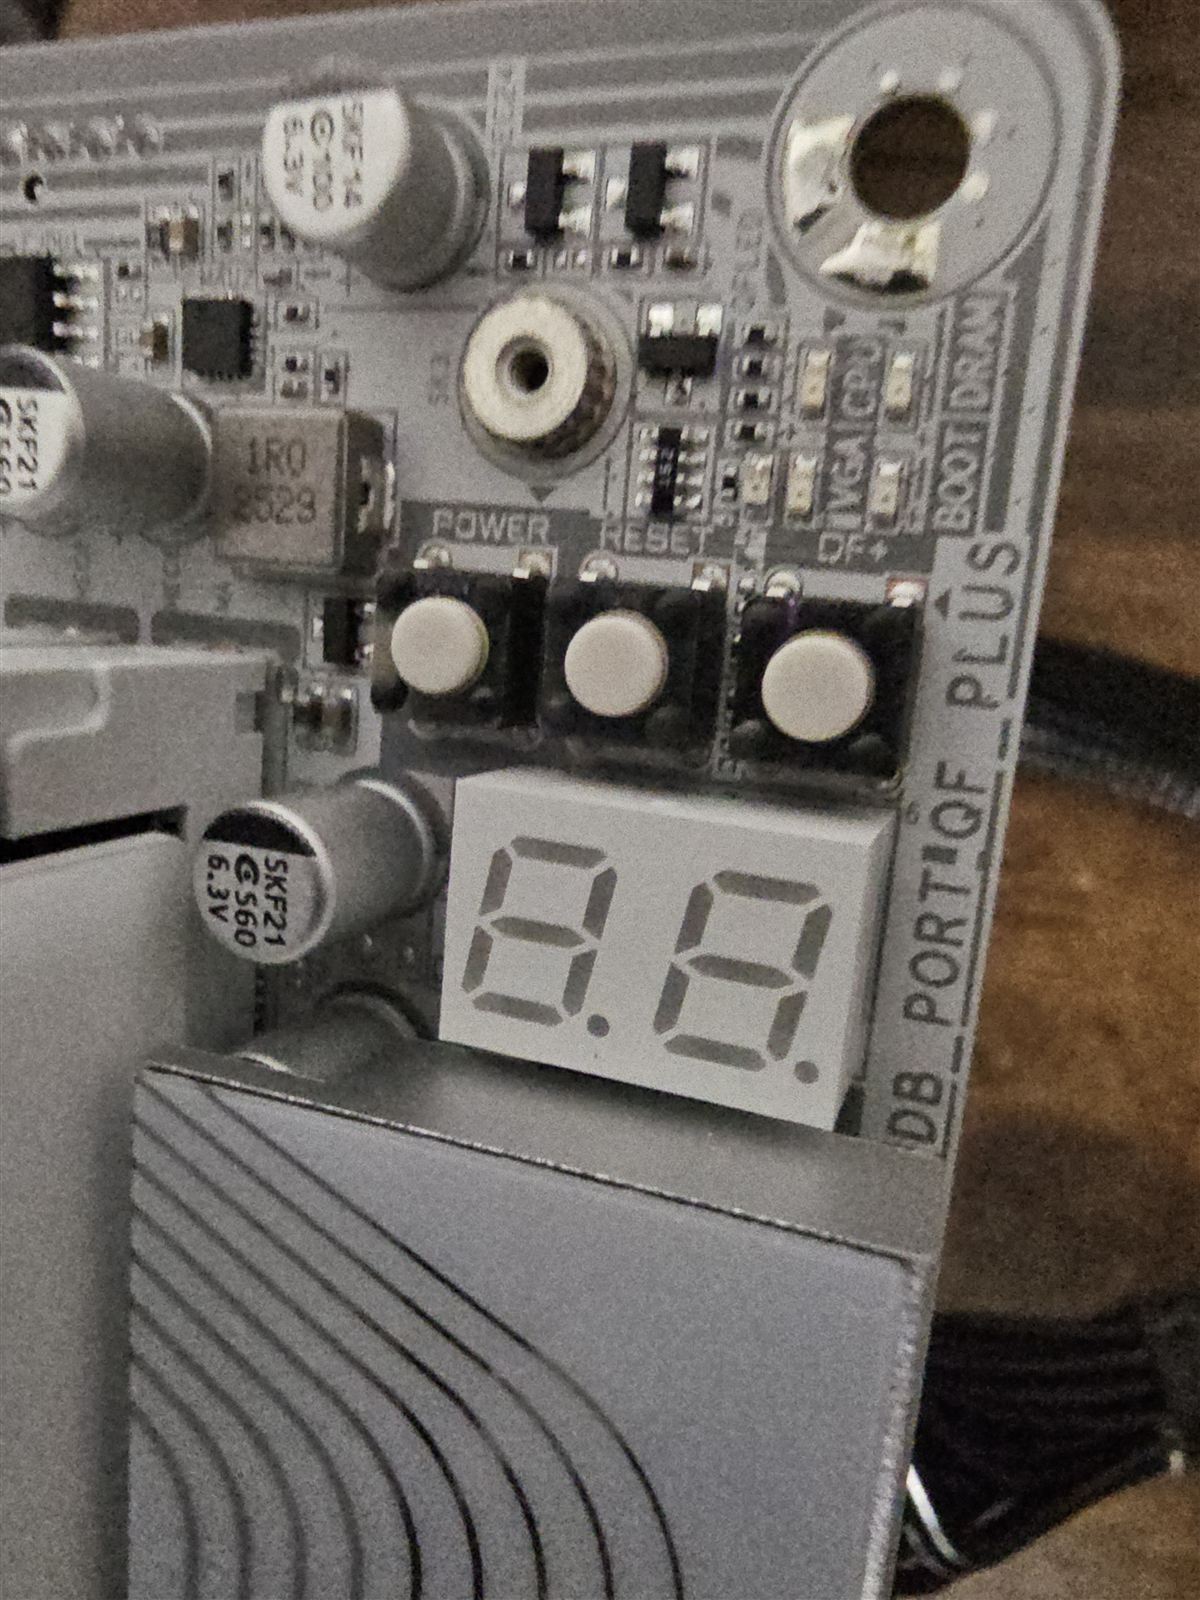
At first I assumed it had simply restarted. But when I pressed the power button, something much worse became clear: the motherboard appeared to be completely dead. No fans. No debug code display. No RGB lighting. No response whatsoever.
First Suspect: The Power Supply
My first reaction was to blame the PSU, so I swapped in a completely different power supply. The result was exactly the same: the board showed absolutely no signs of life. That ruled out the easy explanation.
The Only Sign of Life: The Q-Flash Plus Button
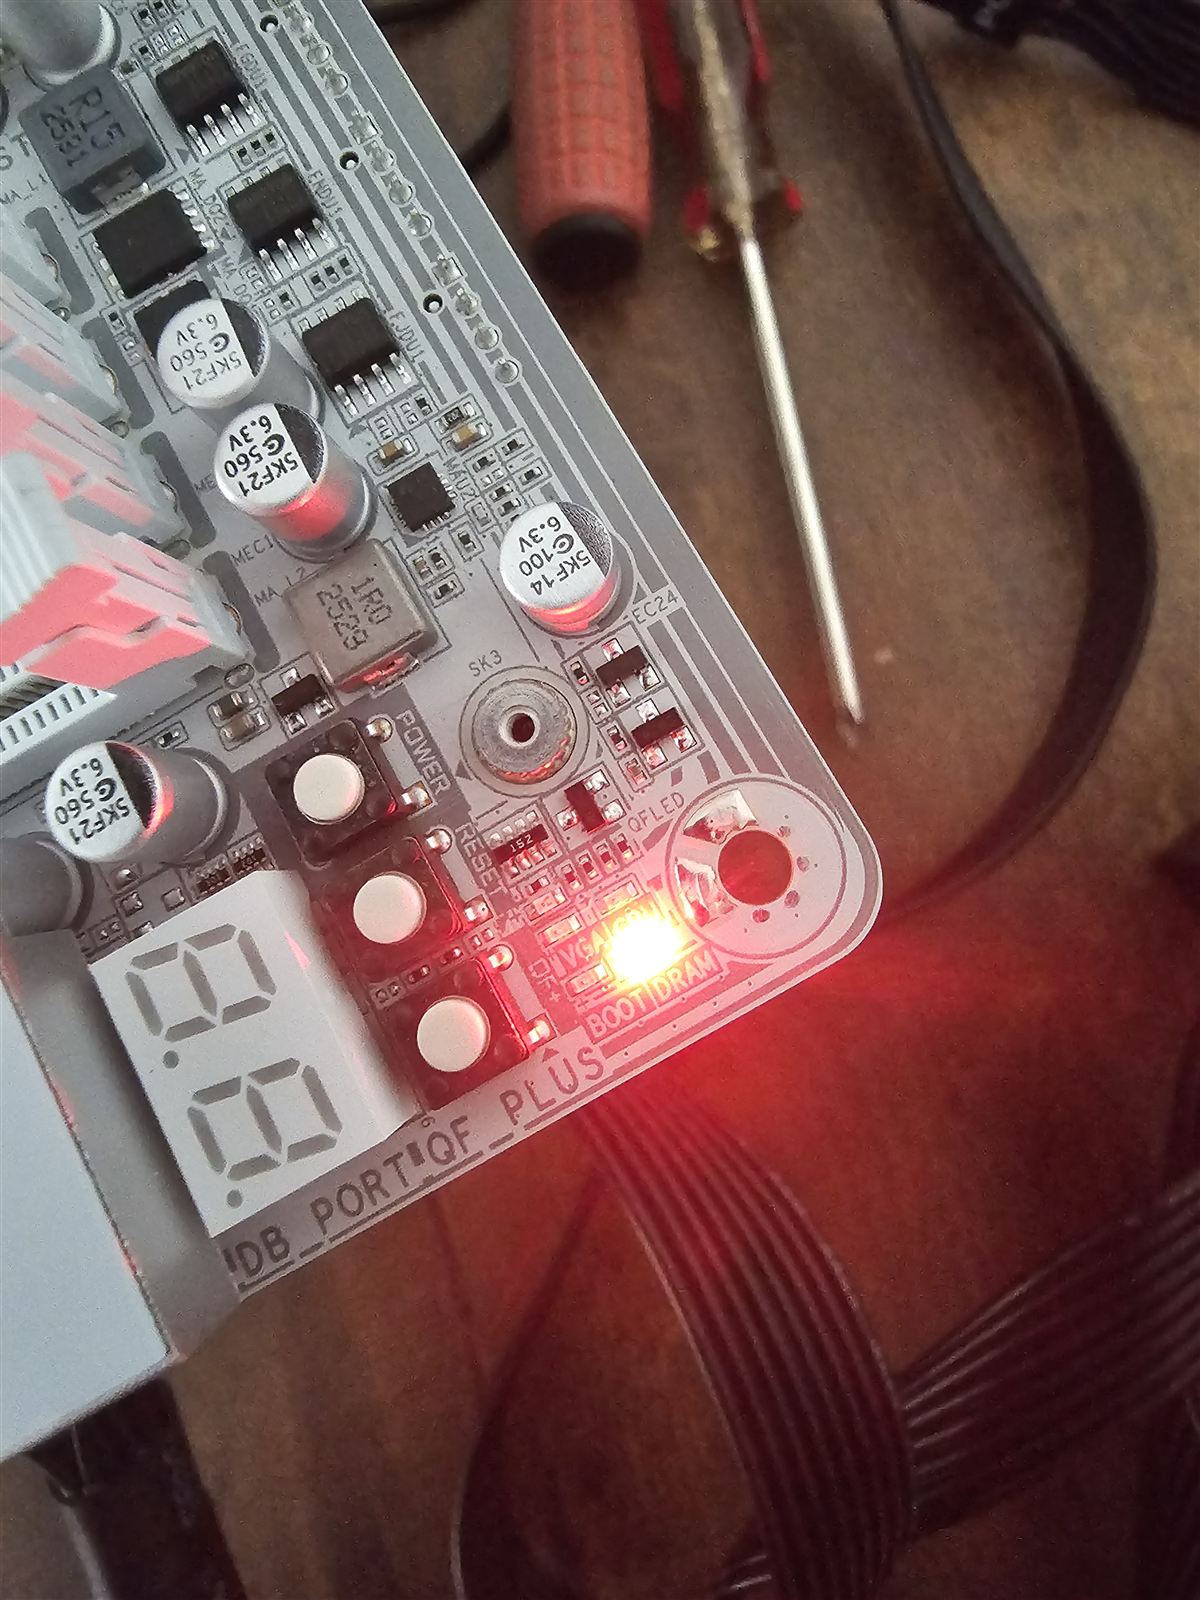
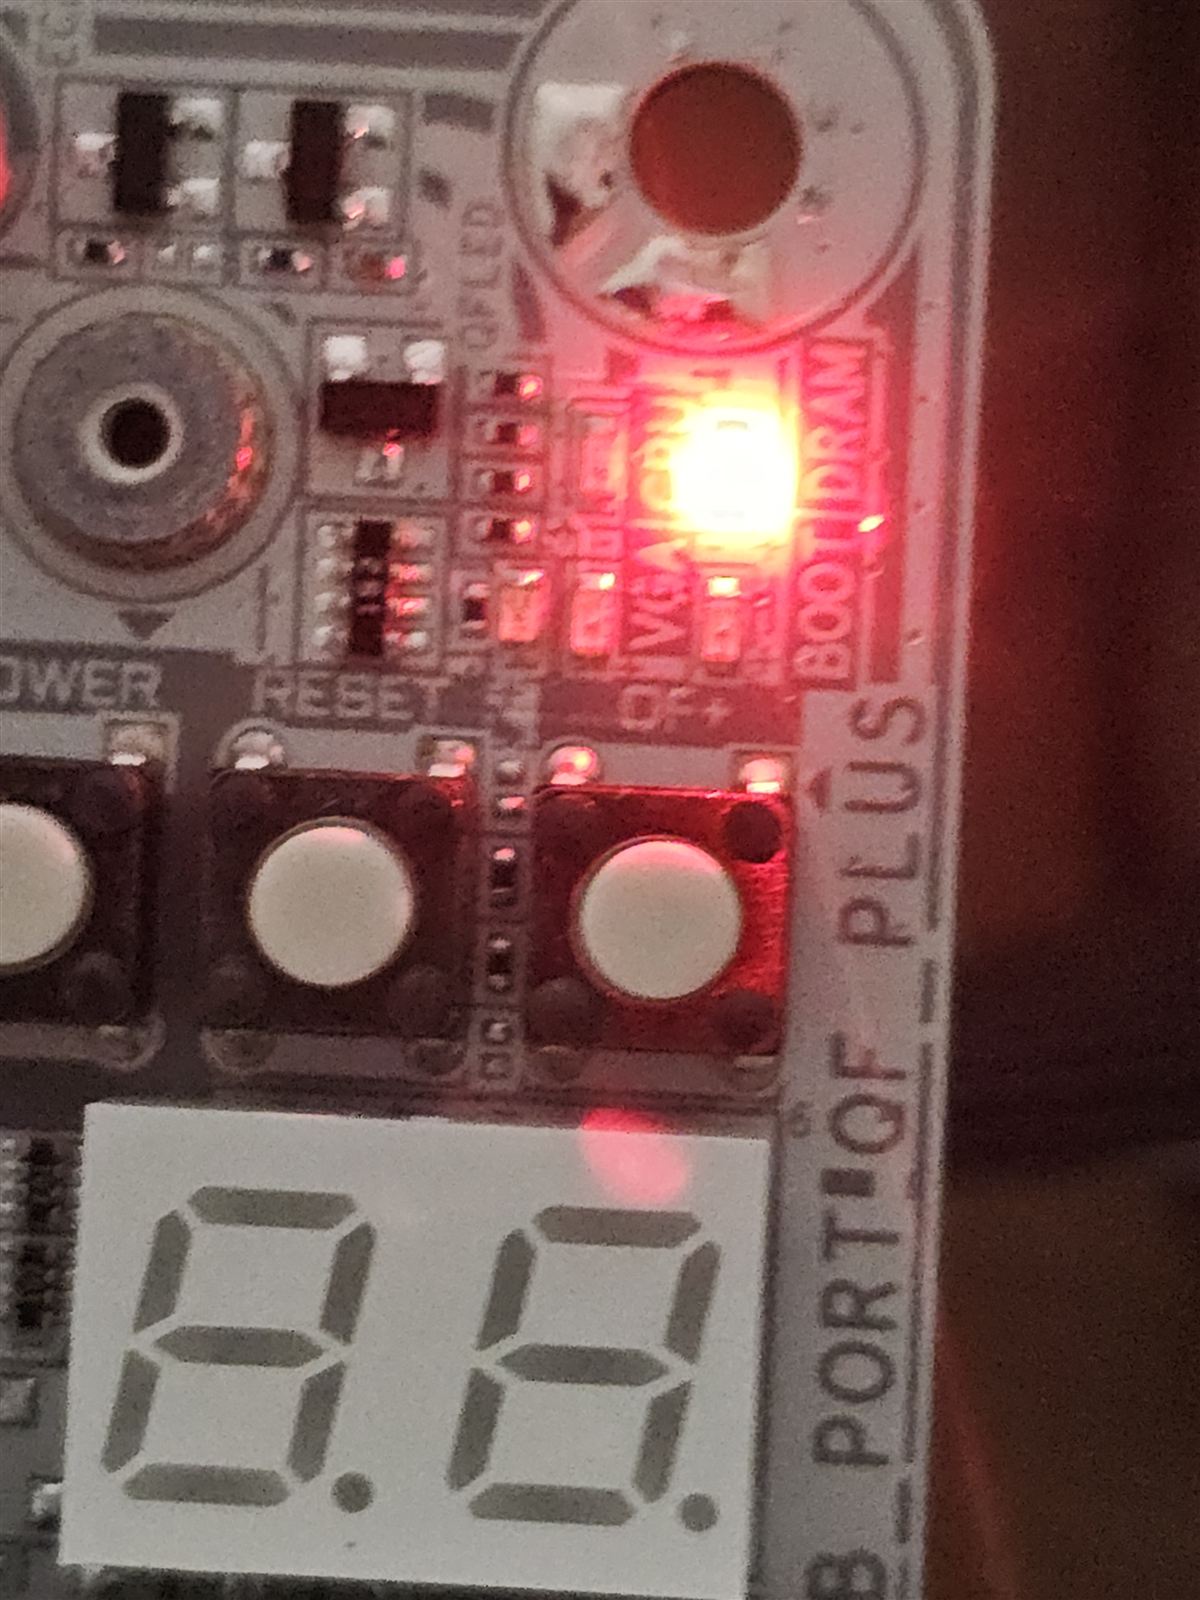
While inspecting the board, I noticed the Q-Flash Plus (QF+) button next to the debug port. When I pressed it, something interesting happened: the board would briefly power on for a few seconds before shutting itself off again.
That tiny reaction told me the motherboard wasn't completely dead after all — something on it was still alive and listening.
Everything I Tried Before the Fix
Before requesting a replacement, I went through every standard troubleshooting step:
Nothing worked. The motherboard remained completely unresponsive.
The Fix: BIOS Recovery With Q-Flash Plus
Before giving up, I decided to try one last thing: reflashing the BIOS with Gigabyte's Q-Flash Plus, which works even with no CPU, no RAM, and no video. These are the exact steps I followed.
Step 1 — Download the official BIOS
I downloaded the latest BIOS for my exact motherboard model directly from Gigabyte's official website.
Step 2 — Format a USB drive as FAT32
A basic USB flash drive formatted as FAT32. Nothing else on it.
Step 3 — Rename the BIOS file to GIGABYTE.BIN
Exactly as Gigabyte instructs: the file must be renamed to GIGABYTE.BIN, in the root of the USB drive.
Step 4 — Connect only the essentials
Only three things connected: the 24-pin ATX power cable, the CPU EPS power cable, and the USB drive in the Q-Flash Plus port. No CPU, no RAM, no SSD installed.
Step 5 — Press the Q-Flash Plus button
One press, and the recovery process started on its own.
What Happened During the Flash
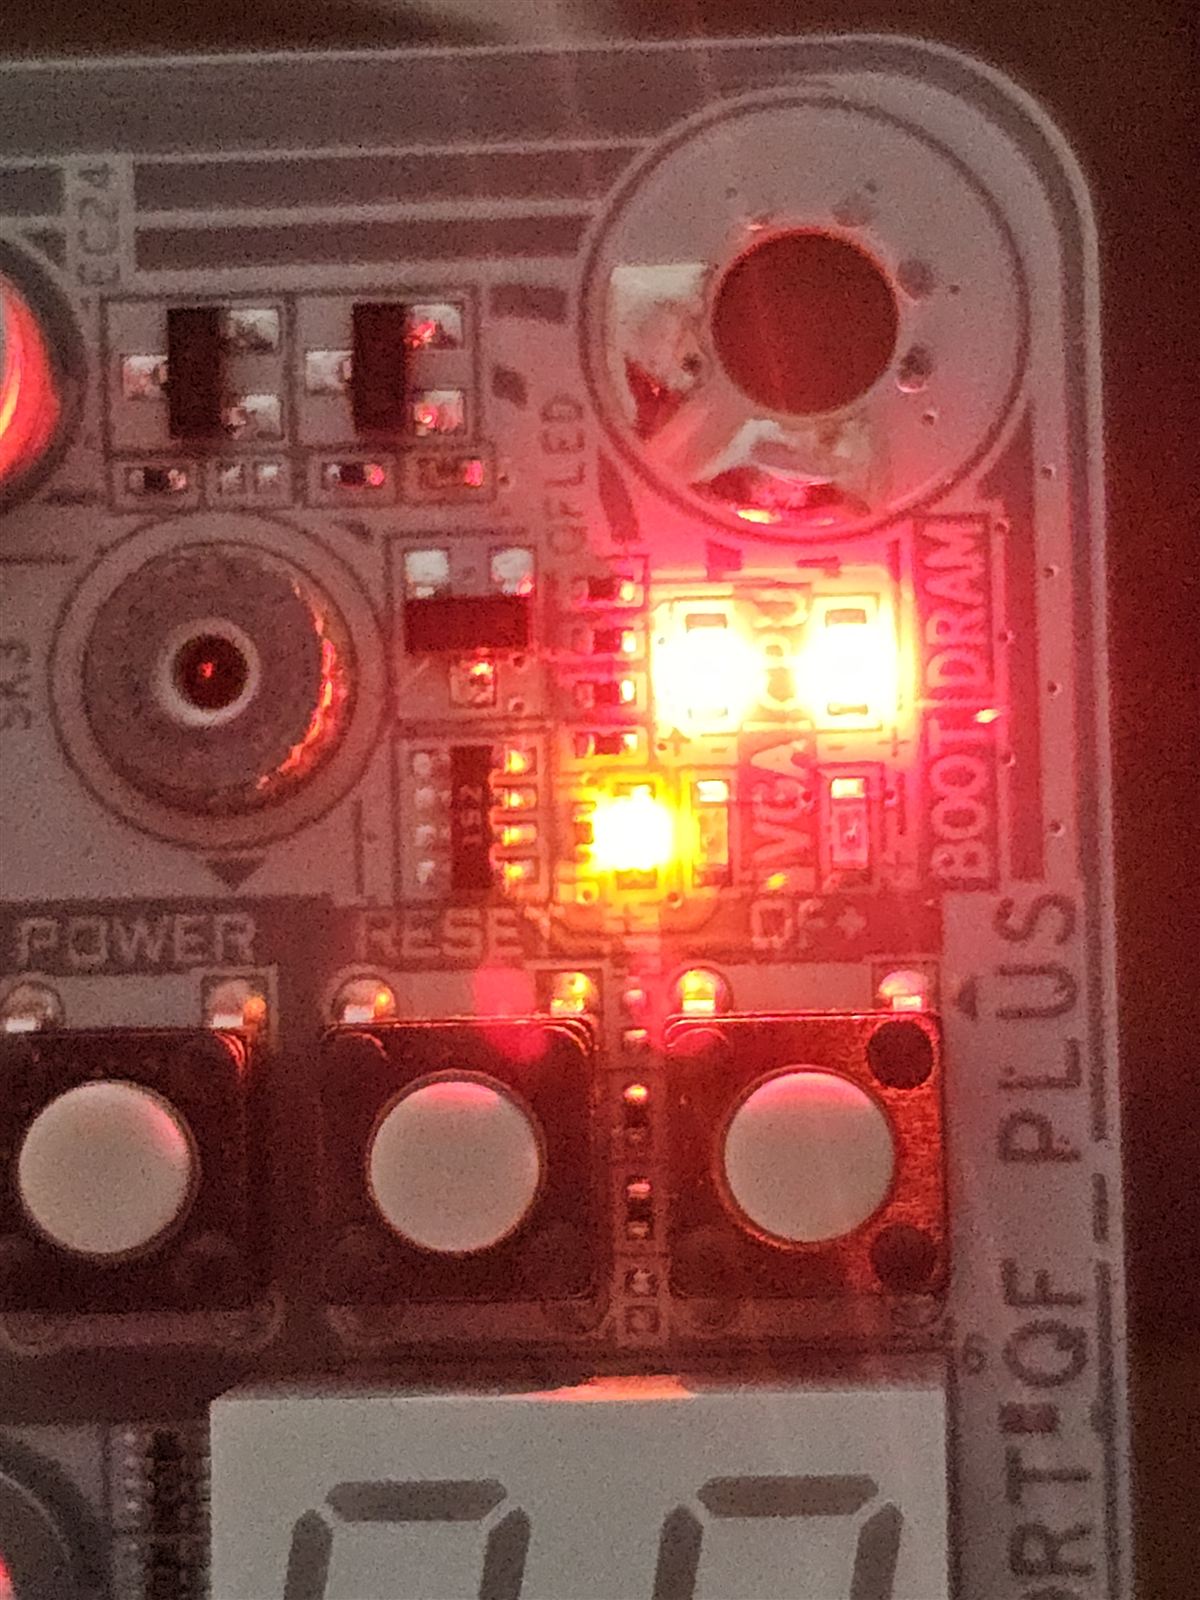
The Q-Flash Plus LED started blinking. For several minutes it looked like nothing was happening — and this is where patience matters. I did not unplug the power supply, and I did not remove the USB drive. I simply let the motherboard finish the recovery process.
Several minutes later, the blinking stopped.
Back to Life: Debug Code 15 and Memory Training
I reinstalled the CPU, one stick of RAM, and the CPU cooler, and pressed the power button.
The motherboard came back to life. The first debug code displayed was 15 — completely normal on AMD AM5 platforms during memory training. A few moments later, the BIOS screen appeared. Everything was working again.
The Final Result: Fully Stable
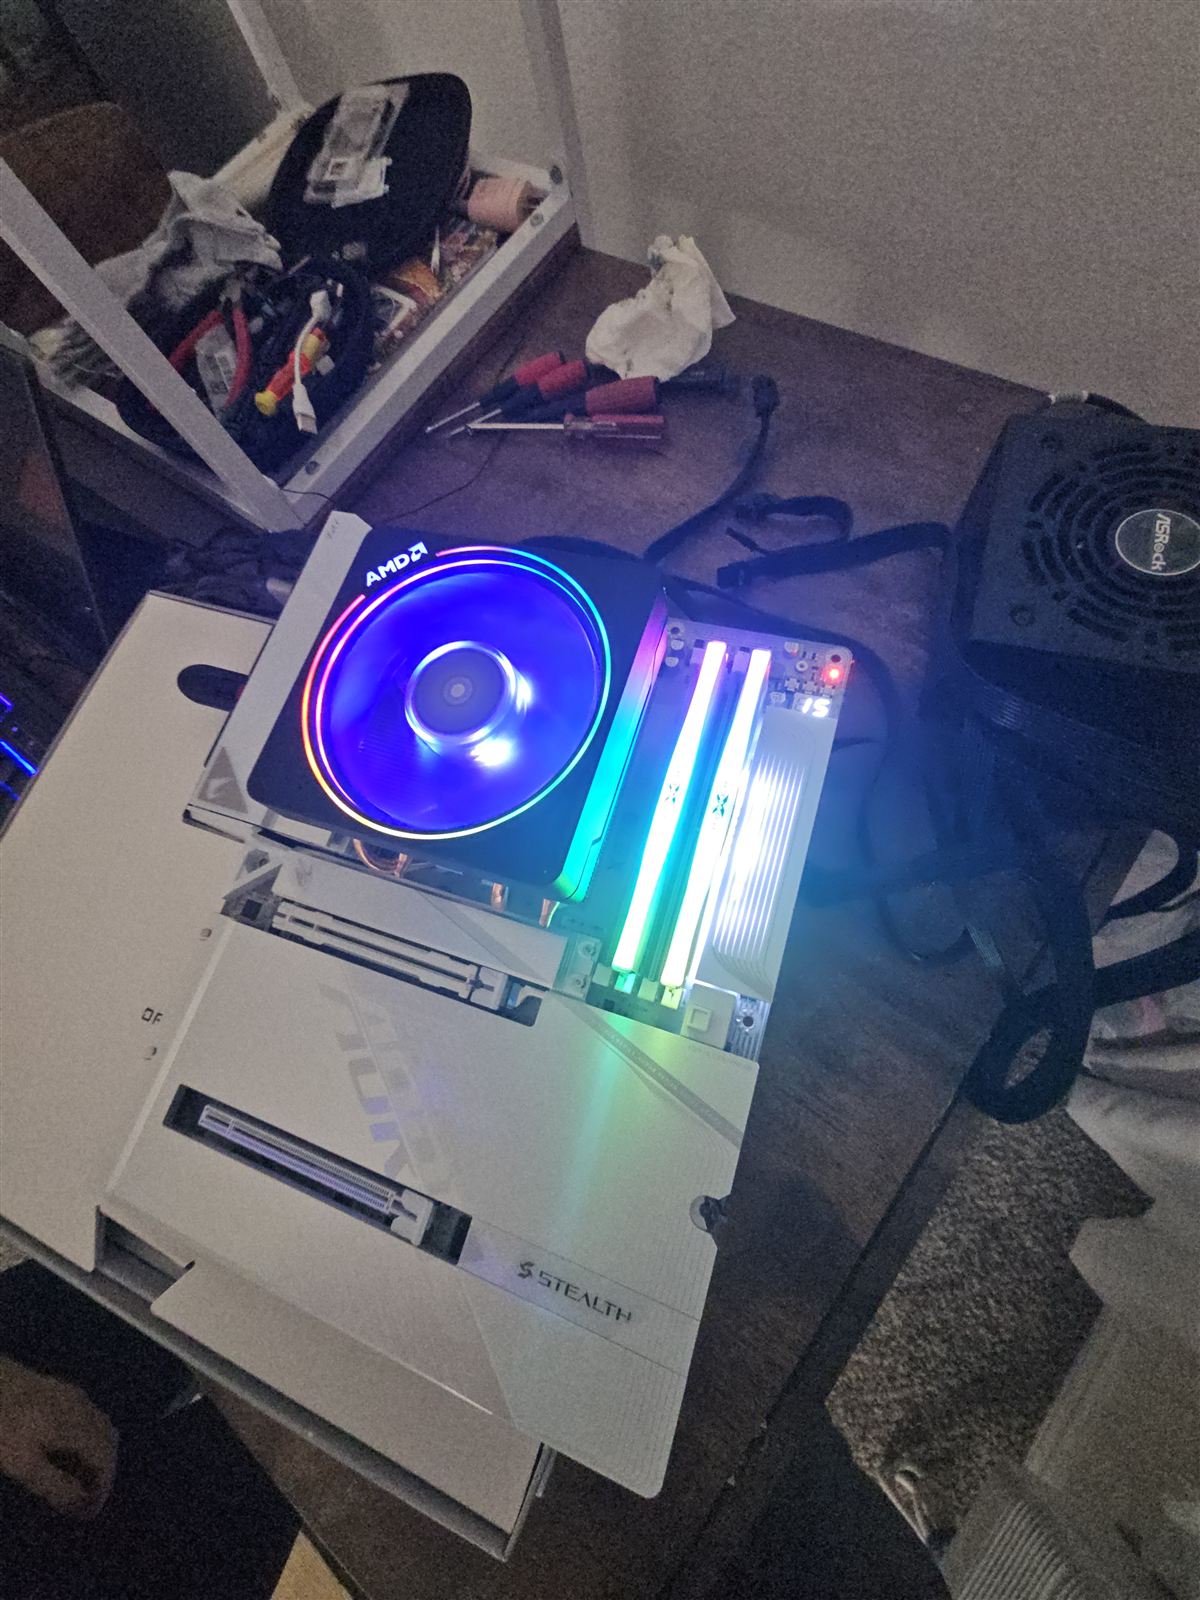
After recovering the BIOS, I installed Windows 11 Pro again. The installation completed successfully, the system rebooted multiple times without issues, and it passed stability testing. Everything has been running perfectly ever since.
Worth noting: the same Crucial P310 1TB NVMe SSD that was installed during the failed installation continues to work flawlessly, which strongly suggests the SSD was never the cause.
What Actually Caused It?
I can't say with absolute certainty, but these are the most likely explanations:
1. BIOS corruption
This is the explanation that best matches the symptoms. The firmware likely entered an inconsistent state, and Q-Flash Plus successfully rewrote it from scratch.
2. A firmware issue during initial setup
AM5 platforms still receive regular AGESA firmware updates. A rare firmware bug during the very first Windows installation or hardware initialization is plausible.
3. A one-time event
It could also have been an extremely rare event that may never happen again. Since the reflash, the system has remained completely stable.
After Recovery: 5 Things You Should Do
The Lesson
When a motherboard suddenly stops powering on, it's easy to assume the hardware has failed. In reality, the problem may live in the firmware — and modern boards ship with the tool to fix it built right in.
I was minutes away from returning a perfectly functional motherboard. One last attempt with Q-Flash Plus saved the RMA, the shipping time, and the frustration. If your Gigabyte board shows no debug codes, no lights, and no fan movement, but the Q-Flash Plus button still responds: try a BIOS recovery before you box it up.
Need a Hand With a Build That Won't Boot?
This guide is based on a real repair case. If you're in the Thousand Oaks area and your PC won't power on — or you'd rather have a professional assemble and test your next build — Quivaltech offers on-site computer repair and custom PC building. You can book a visit at https://quivaltech.com or call us; we come to you.